

Common Problems with Tractor & Combine Harvester Shaft Oil Seals – And How to Fix Them
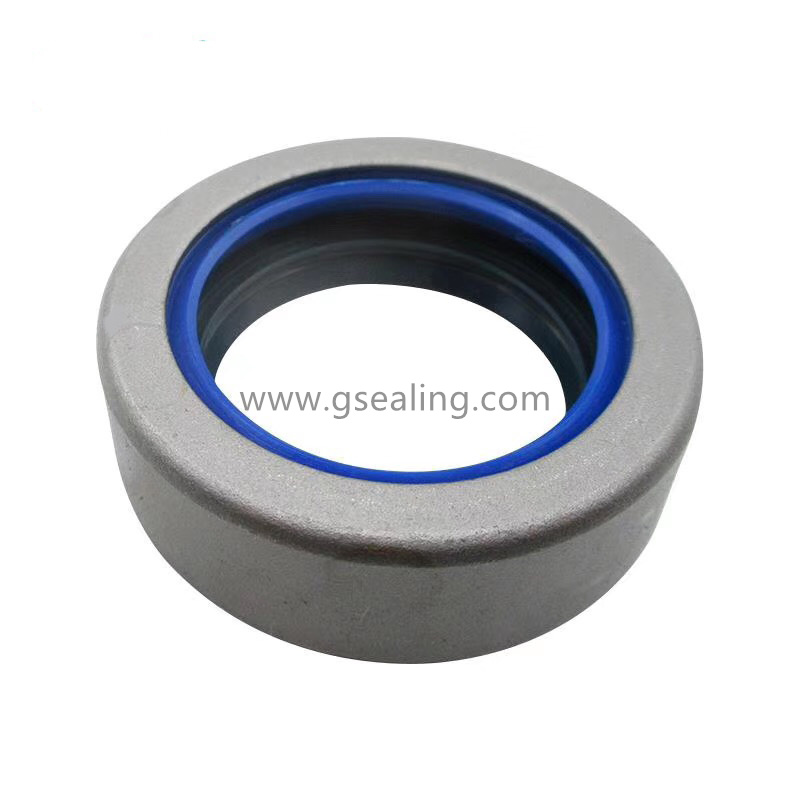
If you work in agriculture, you know that every hour of downtime during planting or harvest season costs real money. Among the most overlooked but critical components on your tractor or combine harvester are the shaft oil seals. These small, unassuming rings of rubber and metal keep lubricants where they belong and contaminants out. When they fail, the consequences range from messy oil drips to catastrophic bearing or gearbox damage.
Over the past 15 years of field service, I have seen the same failures repeat across every major brand. The good news is that most shaft seal problems are predictable, diagnosable, and fixable without a specialist – if you know what to look for. In this article, I will walk you through the five most common shaft oil seal issues on tractors and combines, their root causes, and a proven step‑by‑step approach to solving each one.
1. The Classic: External Oil Leak at the PTO or Axle Shaft
The symptom: A steady drip or wet spot forming under the PTO stub, rear axle, or front wheel drive shaft. Often the leak worsens when the shaft is rotating under load.
Why it happens: The most frequent cause is simple wear – the sealing lip has lost its interference fit due to millions of shaft revolutions. Dust, crop residue, and abrasive soil act like grinding paste, wearing both the seal lip and the shaft surface. In combines, the straw walker and auger shafts are especially vulnerable.
How to fix it:
Step 1 – Clean and inspect. Pressure wash the area, then run the machine briefly to pinpoint the exact weep point. Mark the shaft position relative to the housing.
Step 2 – Remove the old seal. Use a proper seal puller – never a screwdriver that can score the housing bore. Note the installation depth and orientation (lip facing inward or outward).
Step 3 – Check the shaft surface. Run your fingernail around the contact area. If you feel a groove deeper than 0.5 mm, you must either install a wear sleeve (Speedi‑sleeve) or reposition the new seal to ride on a fresh section of the shaft.
Step 4 – Install the new seal. Coat the outer metal case with a thin layer of non‑hardening sealant, and grease the lip with clean oil. Press it in squarely using a driver tool that bears on the outer metal ring – never on the rubber lip. Install to the exact same depth as the original.
Step 5 – Torque the retaining bolts (if any) to factory spec. Over‑tightening distorts the housing and causes premature leakage.
Critical tip: Always replace the seal whenever you have the shaft or bearing out – even if it looks fine. The labor to re‑open a housing is far more expensive than the seal itself.
2. Premature Hardening and Cracking (Heat & Ozone Damage)
The symptom: The seal lip feels brittle, shows visible cracks, or has chunks missing – even though the machine has low hours. Leaks may appear intermittently.
Why it happens: Modern seals use nitrile (NBR), fluoroelastomer (FKM/Viton), or silicone. Each has a maximum temperature rating. Combine harvesters operating in 35°C ambient conditions with hot hydraulic oil can easily exceed 120°C at the shaft. Add ozone from electric motors and sunlight exposure during storage, and the rubber ages quickly.
How to fix it:
Diagnose: Check the oil temperature with an infrared thermometer after 30 minutes of full‑load operation. If the housing surface exceeds 90°C, you are cooking your seals.
Solution A – Upgrade the material. Replace the standard NBR seal with an FKM (Viton) seal, which handles up to 200°C continuous. This is a direct fit in most modern housings.
Solution B – Improve ventilation. Ensure any cooling fins or breather ports on the gearbox are clear. A blocked breather builds internal pressure, which forces oil past the seal – and that pressure also generates extra friction heat.
Solution C – Storage practice. If the machine sits for months, cover exposed shafts and apply a protective grease film to the seal contact area to block ozone attack.
After installing the upgraded seal, re‑check operating temperature. If it still runs hot, you may have an underlying bearing preload issue (see problem #4).
3. Contamination Ingress – Dirt, Water, and Chaff Getting Past the Seal
The symptom: Milky or gritty oil when you drain the gearbox, or visible rust on the shaft near the seal. The seal may look physically intact but still leak internally.
Why it happens: Combine harvesters generate enormous amounts of dust, plant sap, and fine abrasive particles. The primary sealing lip is designed to hold oil in, but the secondary (dust) lip is much less robust. When the dust lip becomes clogged with dried crop juice, it wears away the shaft and creates a path for moisture and grit.
How to fix it:
Immediate action: Flush the contaminated oil and replace the filter (if equipped). Run a low‑viscosity flushing oil for 10 minutes, then drain again.
Seal selection: Choose a seal with a heavy‑duty excluder lip – often called a “triple‑lip” or “cassette” seal. These have an additional flexible flange that contacts the shaft with more pressure, and they incorporate a labyrinth path to shed solids.
Installation nuance: When installing, pack the space between the primary and excluder lips with high‑temperature grease. This acts as a barrier and captures fine dust before it can reach the main lip.
Shaft surface treatment: If the shaft is pitted from corrosion, you must use a wear sleeve. A new seal running on a pitted shaft will fail within 50 hours.
Preventive check: Every 100 hours, inspect the seal area for chaff build‑up. Use a soft brush and compressed air (low pressure) to clean the excluder lip without forcing debris deeper.
4. Repeated Seal Failures in the Same Location – Likely Shaft Runout or Bearing Play
The symptom: You have replaced the seal three times in one season, and each time it starts leaking within a week. The seal lip is worn unevenly – more on one side.
Why it happens: The seal lip is designed to accommodate a certain amount of shaft eccentricity (typically ≤0.3 mm TIR). If the bearing supporting the shaft has excessive radial play, the shaft wobbles. Each revolution pumps oil out and works the lip like a piston, generating heat and rapid wear. Also, a bent shaft or misaligned housing can cause the same.
How to fix it:
Step 1 – Measure shaft runout. Mount a dial indicator on the housing and rotate the shaft by hand. If total indicated runout exceeds 0.5 mm, you have a problem.
Step 2 – Check bearing preload. For tapered roller bearings, check the end‑play with a feeler gauge or dial indicator. Adjust shims or locknuts to factory spec – often 0.05–0.15 mm end‑play for agricultural gearboxes.
Step 3 – Inspect the housing bore. The seal outer case must have a tight interference fit (usually 0.05–0.10 mm). If the bore is scored or corroded, use a bore repair sleeve or Loctite retaining compound (e.g., 641) to take up clearance.
Step 4 – If the shaft is bent (runout >0.8 mm), straighten or replace it. In a pinch, you can install an offset seal with a wider lip – but this is a temporary fix.
Golden rule: Never replace a seal without checking the bearing condition first. A seal is a symptom – the bearing is often the disease.
5. Leaks After Storage – The “Sticking Lip” Phenomenon
The symptom: The machine sat for 6 months over winter. After the first start, it leaks profusely, then the leak slows down or stops after an hour of operation.
Why it happens: When a shaft is stationary for a long time, the seal lip takes a permanent set (compression deformation) at the contact point. Also, the oil film dries out, so the lip sticks to the shaft. On initial rotation, the lip tears slightly or momentarily lifts away, allowing oil to pass.
How to fix it:
Prevention (before storage): Apply a “storage” grease (e.g., lithium complex with corrosion inhibitors) to the exposed shaft and rotate the shaft a half‑turn every month to change the contact point.
If the leak has already occurred: Run the machine at low idle for 15–20 minutes without load. Often the seal lip will re‑seat as it warms up and regains flexibility. If the leak persists after that, the lip is permanently damaged – replacement is needed.
Long‑term fix: When replacing, choose a seal with a PTFE (polytetrafluoroethylene) lip. PTFE does not take a compression set, so it remains flexible even after years of storage. These are more expensive but are the gold standard for seasonal equipment.
A Systematic Troubleshooting Flowchart (Mental Checklist)
Before you order a new seal, ask yourself these five questions:
Is the shaft surface smooth? – If not, install a wear sleeve.
Is the bearing tight? – Check runout and end‑play.
Is the housing bore clean and round? – Repair any scoring.
Is the seal material correct for the temperature and chemical exposure? – Upgrade to FKM or PTFE if needed.
Is the breather or vent clear? – Internal pressure kills seals faster than anything.
Only when you have answered yes to all five should you install the new seal. If you skip any step, you are gambling with your next harvest.
Practical Installation Do’s and Don’ts
| Do | Don’t |
| Use a proper seal driver or a piece of pipe with the same OD as the metal case. | Never hammer directly on the seal – you will distort the metal and ruin the lip. |
| Apply a thin film of oil or assembly gel to the lip before sliding over the shaft. | Never use grease on the lip – it can block the hydrodynamic pumping ribs that are designed to work with oil. |
| Lubricate the shaft splines (if any) to avoid cutting the lip during installation. | Never force the seal over sharp edges – use a protective sleeve or tape. |
| Install the seal square to the bore – check depth at four points. | Never reuse an old seal – even if it looks good, the elastomer has aged. |
When to Call a Professional
While most shaft seal replacements are DIY‑friendly, there are cases where you need a mobile agricultural mechanic:
The housing is cracked or the bearing race is seized in the bore – that requires press work.
The shaft is heavily scored and a wear sleeve cannot fit because of shoulder clearance – you may need a custom undersized seal.
The equipment has electronic speed sensors that must be recalibrated after shaft disassembly.
Don’t let pride delay a repair. A $50 seal can cause $5,000 in gearbox damage if you run it dry.
Final Thoughts – Reliability is in the Details
I have seen farms that replace seals every year as routine, and others that get five seasons from the same seal. The difference is not the brand of seal – it is the installation discipline and the willingness to address root causes. A leaking shaft oil seal is never just “old age.” It is telling you something about alignment, temperature, contamination, or storage practices.
Next time you see that tell‑tale drip on your tractor PTO or combine auger, resist the urge to just swap the seal and forget. Take 20 extra minutes to measure, clean, and investigate. That small investment will pay back in reduced downtime, cleaner workshops, and a much calmer harvest season.
And always keep a couple of spare seals on the shelf – because in farming, the breakdown never happens at a convenient time.
Hot Products
-
 View More
-
 View More
PTFE Lip Oil Seals for Air Compressor - Professional Manufacturer Supply
-
 View More
Bearing Seals & Gaskets Manufacturer - China OEM Factory Supplier
-
 View More
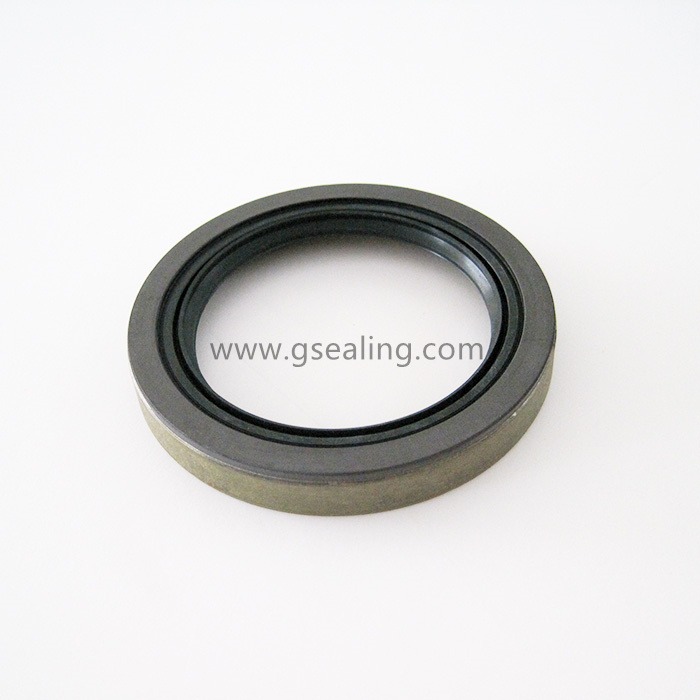
Magnetic Seals | Magnetic Abs OEM Bearing Seals China Manufacturer
-
 View More
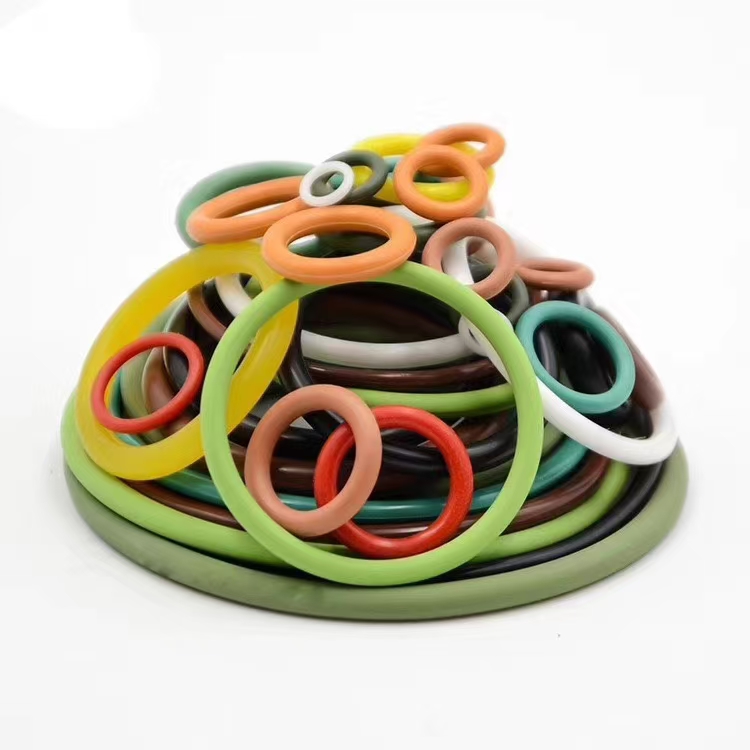
EPDM Rubber O-Ring Seal Factory | Custom Sizes China Manufacturer
-
 View More
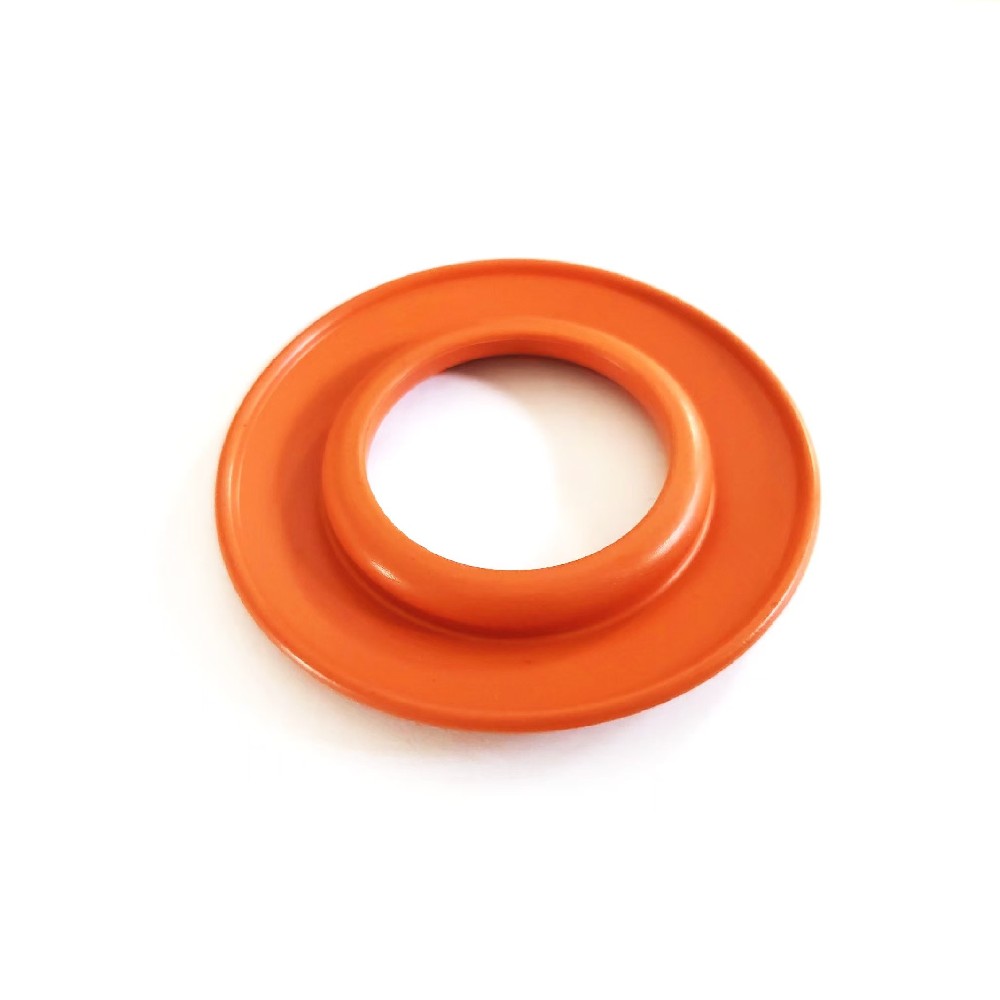
Rubber Check Valve for Automotive Oil Filter - OEM Supplier
-
 View More
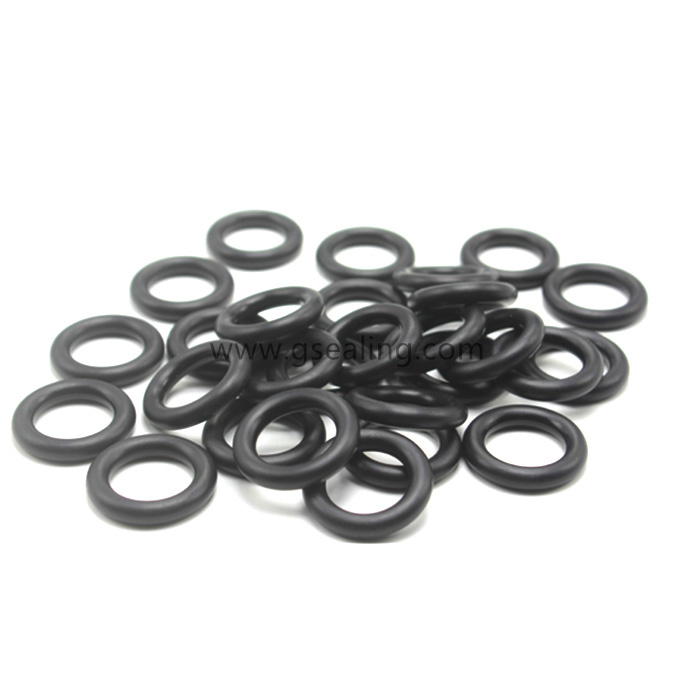
HNBR O-Ring OEM Manufacturer | Hydrogenated Nitrile Seals China
-
 View More
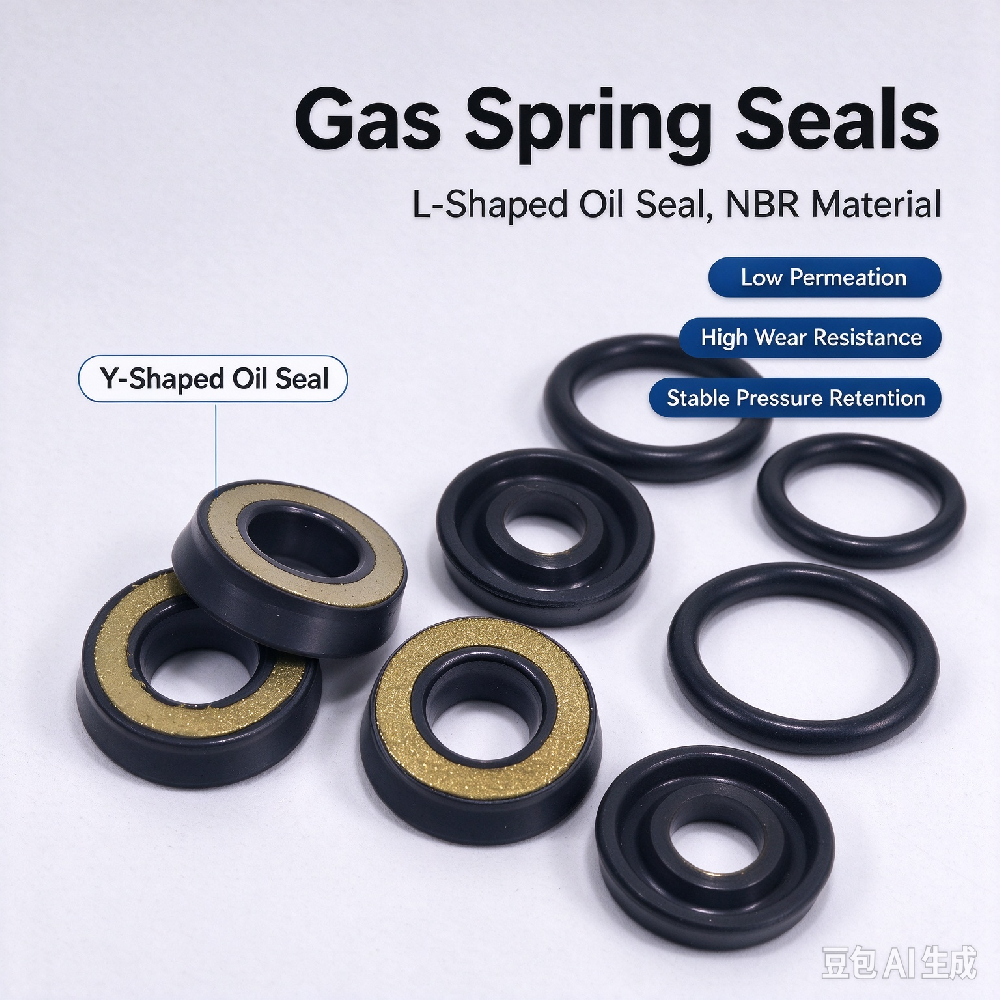
L type Gas Spring Seals /Manufacturer/Factory Supply/OEM high quality
-
 View More
Y-Type High pressure Gas Spring Oil Seal 10×24×3.5mm, OEM Gas Spring Sealing Component for Gas Spring Manufacturers
-
 View More
24898 (SKF CRWA1) Oil Seal|Replacement for SKF Part Number 24898
-
 View More
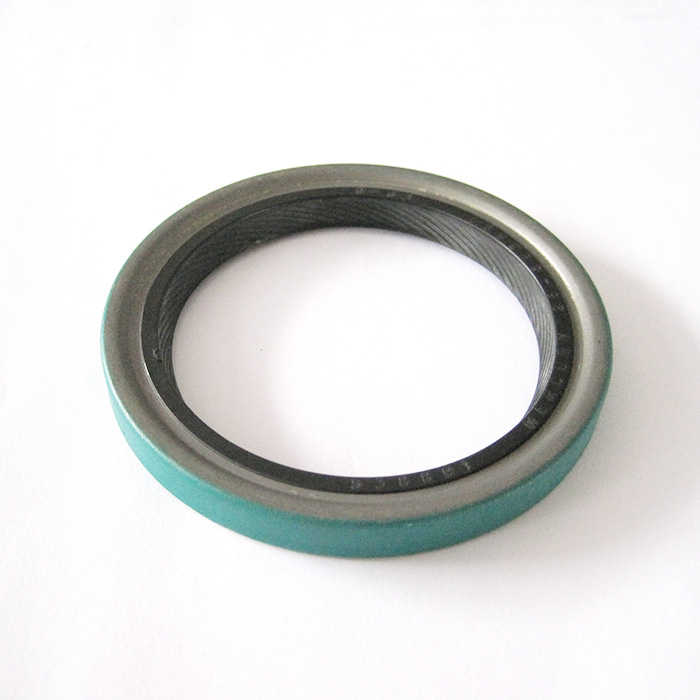
24863 Radial Shaft Oil Seals Single Lip withe metal case
-
 View More
TC Rubber Lip Oil Seal Manufacturer | TC Type Oil Seal Supplier
-
 View More
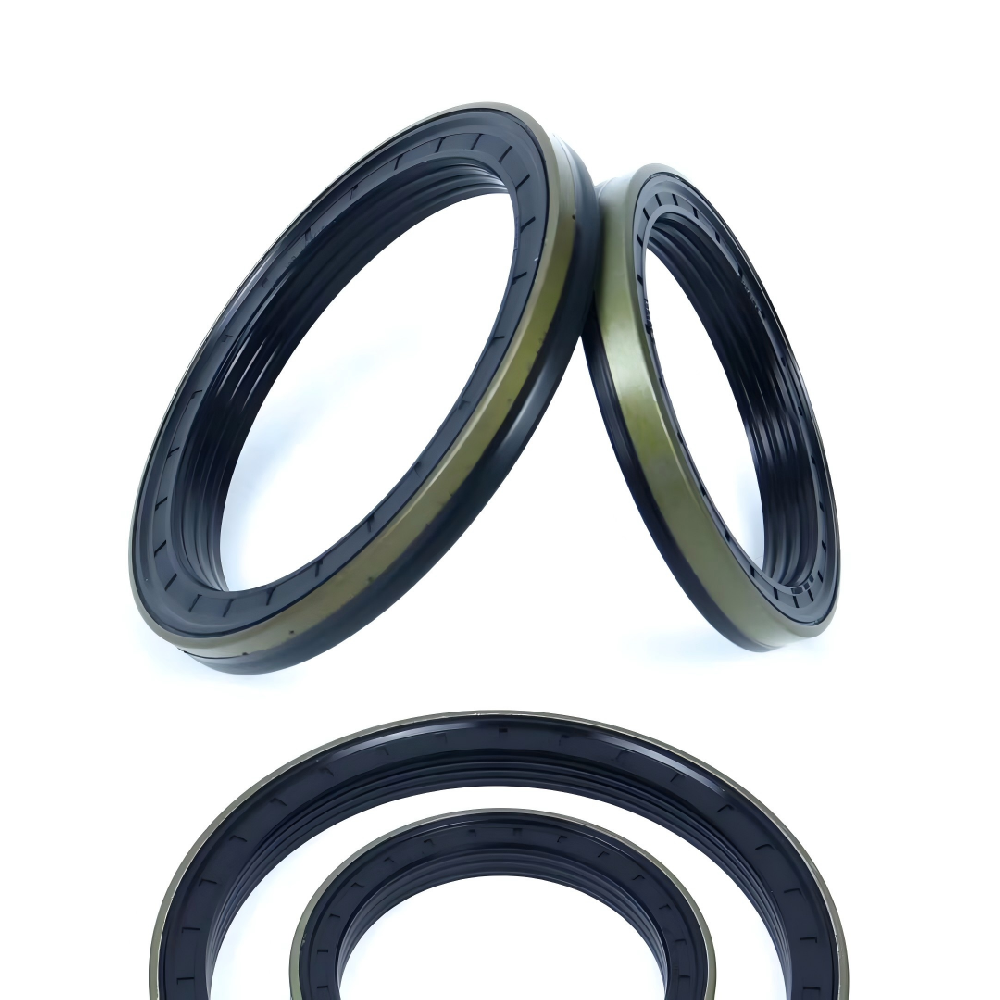
John Deere RWDR Cassette Oil Seal - OEM Manufacturer
-
 View More
Valley Valmont Gearbox Oil Seal - Irrigation OEM Supplier
-
 View More
Custom Shock Absorber Oil Seals | OEM Manufacturer | IATF16949 Damper Seals for OEM Factories

Do you have a question? Feel free to contact!
 Tel:
+8613967511577
Tel:
+8613967511577
 E-mail:
sale@gsealing.com
E-mail:
sale@gsealing.com
 Add:
Cixi,Ningbo ,zhejiang, 312300, China.
Add:
Cixi,Ningbo ,zhejiang, 312300, China. 
Copyright © YIWU GREAT SEAL RUBBER PRODUCTS COMPANY All rights reserved.
OEM Rubber Driving belts Manufacturers
