

Common Problems with VG-FU001 Plunger Pump Oil Seals and How to Fix Them
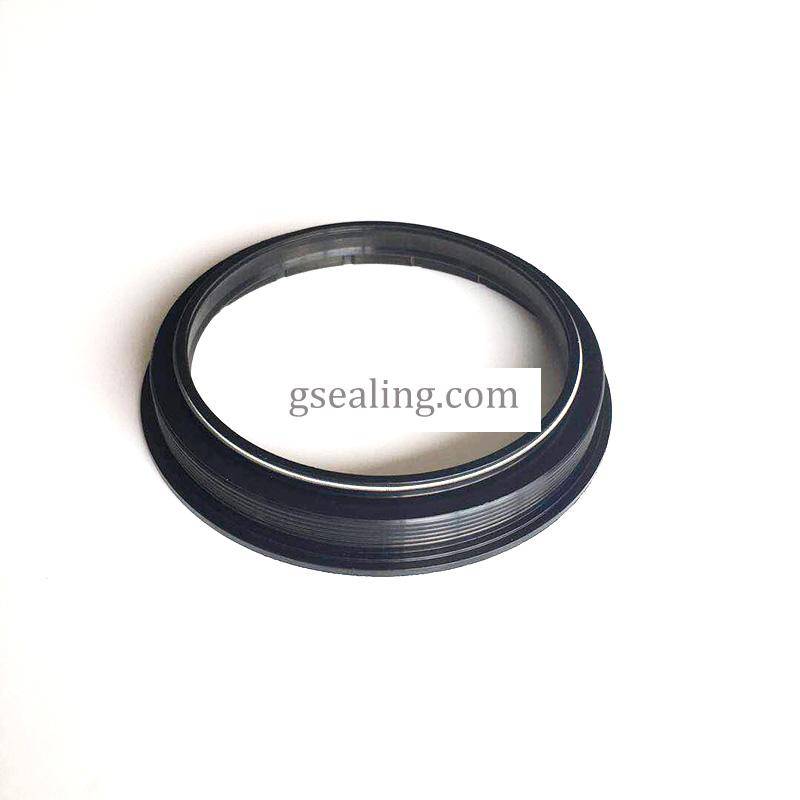
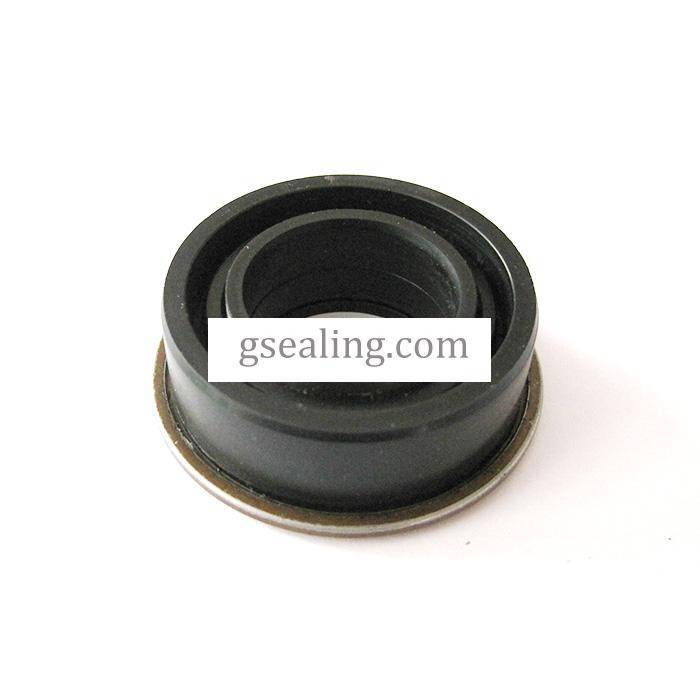
The VG-FU001 plunger pump oil seal is a critical component in high‑pressure plunger pump systems, serving as the barrier that prevents oil leakage between the crankcase and the pumping section. When this seal fails, it can lead to oil contamination, reduced pump efficiency, and even catastrophic equipment damage. This article covers the most common problems encountered with VG‑FU001 oil seals and provides practical solutions to keep your pump running smoothly.
Common Problem #1: Oil Leakage Between Crankcase and Pumping Section
The Problem: Oil leaking from the interface where the plunger enters the pump body is the most frequent complaint with VG‑FU001 seals. This typically manifests as visible oil drips or a gradual oil level drop in the crankcase.
Root Causes:
Worn or degraded seal lip material from continuous use
High oil temperature causing seal hardening or softening
Contaminated oil with abrasive particles accelerating wear
Improper seal installation (rolled lip, incorrect orientation, or insufficient lubrication)
How to Fix:
Inspect and replace – Remove the old seal and examine the sealing lip for cracks, hardening, or uneven wear. Replace with a genuine VG‑FU001 seal of the correct material specification.
Check oil condition – Drain and replace contaminated oil. Install a high‑quality filtration system to remove abrasive particles.
Monitor operating temperature – Ensure the pump is not running excessively hot. Consider adding a cooler if temperatures consistently exceed recommended limits.
Verify installation – When installing the new seal, lubricate the external diameter with silicone grease and ensure the lip faces the correct direction of plunger operation. Never force the seal – use the appropriate installation tool to avoid rolling the lip.
Common Problem #2: Premature Seal Failure
The Problem: The VG‑FU001 oil seal fails long before its expected service life, requiring frequent replacements and causing unplanned downtime.
Root Causes:
Misalignment – The plunger and seal are not properly aligned, creating uneven pressure on the seal lip
Plunger surface damage – Scratches, scoring, or wear on the plunger rod act as a file, cutting into the seal lip with each stroke
Incorrect seal material – The seal material is not compatible with the operating fluid or temperature range
Excessive pressure spikes – Sudden pressure surges can deform or displace the seal
How to Fix:
Inspect the plunger surface – Run your fingernail along the plunger rod. If you feel any scratches or grooves, the plunger must be polished or replaced. A smooth plunger surface is essential for seal longevity.
Check alignment – Use dial indicators to verify that the plunger is concentric with the seal bore. Adjust mounting brackets or pump alignment as needed.
Select the right seal compound – Ensure the VG‑FU001 seal material matches your operating conditions (temperature, pressure, and fluid type). When ordering seal kits, specify the correct material code.
Install a pulsation dampener – If pressure spikes are common, install a dampener on the discharge side to smooth out fluctuations.
Common Problem #3: Oil and Water Mixing
The Problem: The crankcase oil becomes milky or contaminated with the process fluid, indicating that the seal has failed and allowed fluid to travel along the plunger rod.
Root Causes:
Seal and packing wear allowing liquid to bypass the sealing interface
Scored plunger surface creating a path for fluid migration
Seal lip damaged by chemical attack or hard water deposits
How to Fix:
Immediate action – As soon as oil contamination is noticed, replace the oil seal and bearings. Continued operation will damage bearings and other internal components.
Flush the system – Drain all contaminated oil, flush the crankcase with clean oil, and refill with fresh oil of the correct specification.
Address the root cause – If the plunger is scored, replace it. If chemical attack is suspected, verify seal material compatibility with your process fluid.
Increase service frequency – In harsh operating environments, consider more frequent seal inspections and replacements.
Common Problem #4: Seal Displacement or "Walking Out"
The Problem: The oil seal physically moves out of its seat over time, leading to sudden and massive oil leakage.
Root Causes:
Excessive crankcase pressure (blocked breather or overfilled oil)
Vibrations loosening the seal in its bore
Improper seal retention or missing retaining components
How to Fix:
Check crankcase pressure – Ensure the breather is clear and functioning. Overfilled oil can also cause pressure buildup – maintain oil at the correct level.
Inspect the seal bore – If the bore is worn or damaged, the seal will not stay seated. Repair or replace the housing as needed.
Use retaining compounds – Apply a thin layer of sealant or retaining compound (compatible with oil seals) to the outer diameter of the seal before installation.
Verify retention hardware – Ensure any snap rings, retaining plates, or other retention devices are present and properly installed.
Common Problem #5: Seal Swelling and Deformation
The Problem: The seal lip swells, becomes soft, or deforms, leading to poor sealing performance and leakage.
Root Causes:
Residual oil or gasoline on the shaft or housing bore causing chemical swelling
Incompatible cleaning solvents used during maintenance
Exposure to high temperatures exceeding the seal material's limit
How to Fix:
Clean thoroughly – Before installing a new seal, ensure the shaft and housing bore are completely clean and free of residual oil, solvents, or debris.
Use compatible cleaners – Avoid aggressive solvents that can attack the seal material. Use pump‑manufacturer‑recommended cleaning agents (but without referencing any external link – check your equipment manual).
Check temperature – Verify that operating temperatures are within the seal's rated range. If not, consider upgrading to a high‑temperature seal material.
Inspect for burrs – Check that the inner surface of the housing bore and the shaft are free of defects and burrs that could damage the seal during installation.
Preventive Maintenance Best Practices
To maximize the service life of your VG‑FU001 plunger pump oil seal:
Regular inspections – Check for oil leaks weekly and replace seals at the first sign of trouble
Oil analysis – Periodically test crankcase oil for contamination and degradation
Proper installation – Always use the correct installation tools and lubricate seals before fitting. Never use excessive force
Temperature monitoring – Keep oil temperature within the recommended range
Plunger maintenance – Keep plunger surfaces smooth and free from scoring
Use quality replacement parts – Always use genuine VG‑FU001 seals or equivalent quality replacements
Final Thoughts
The VG‑FU001 plunger pump oil seal is a small but vital component. Most failures can be traced to installation errors, contamination, or operating conditions outside the seal's design parameters. By understanding the common failure modes and following the solutions outlined above, you can significantly extend seal life, reduce downtime, and keep your plunger pump operating at peak efficiency.
Remember: When in doubt, consult the pump’s service manual for model‑specific procedures and torque specifications.
Hot Products
-
 View More
-
 View More
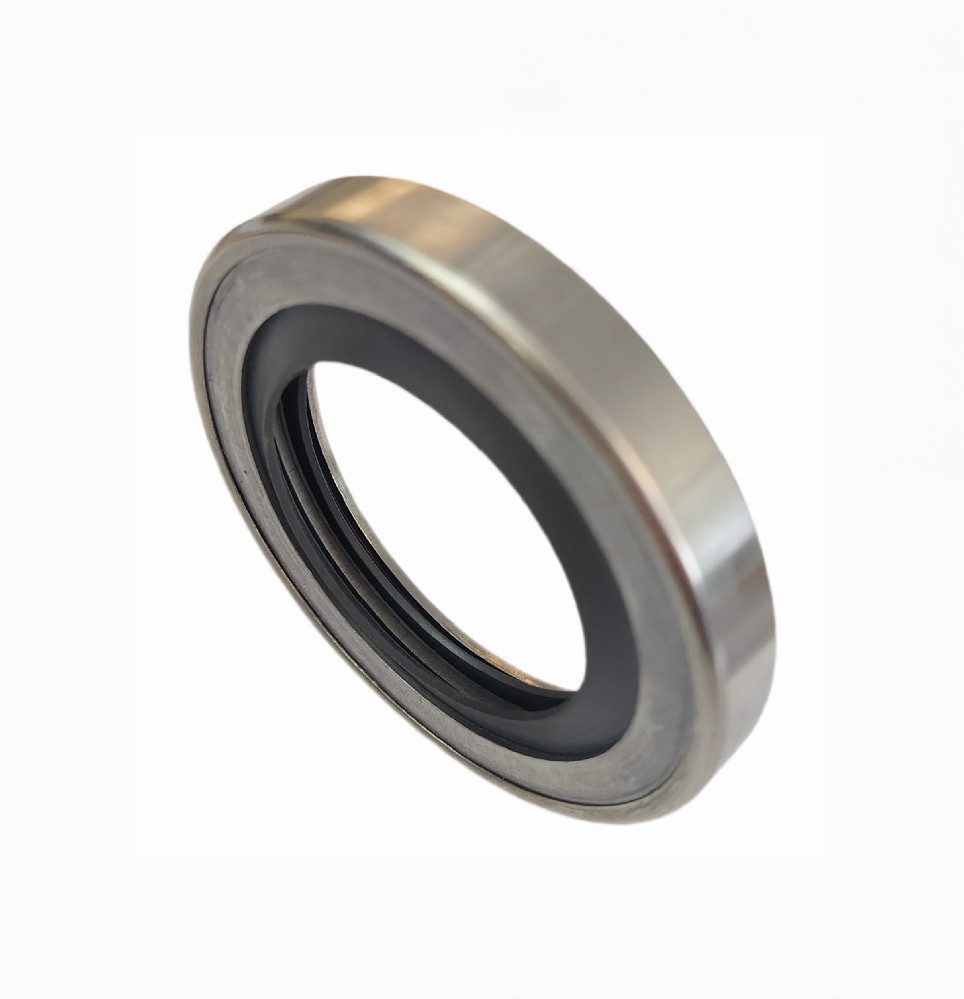
PTFE Lip Oil Seals for Air Compressor - Professional Manufacturer Supply
-
 View More
Bearing Seals & Gaskets Manufacturer - China OEM Factory Supplier
-
 View More
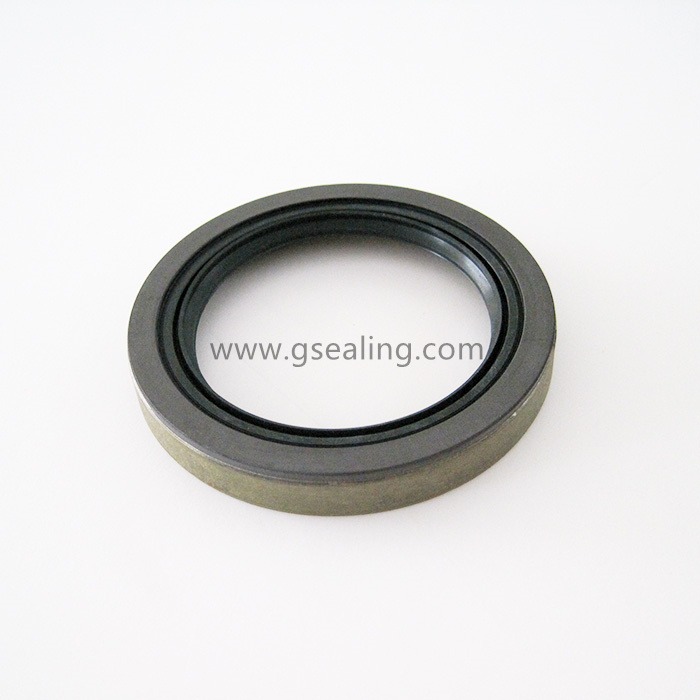
Magnetic Seals | Magnetic Abs OEM Bearing Seals China Manufacturer
-
 View More
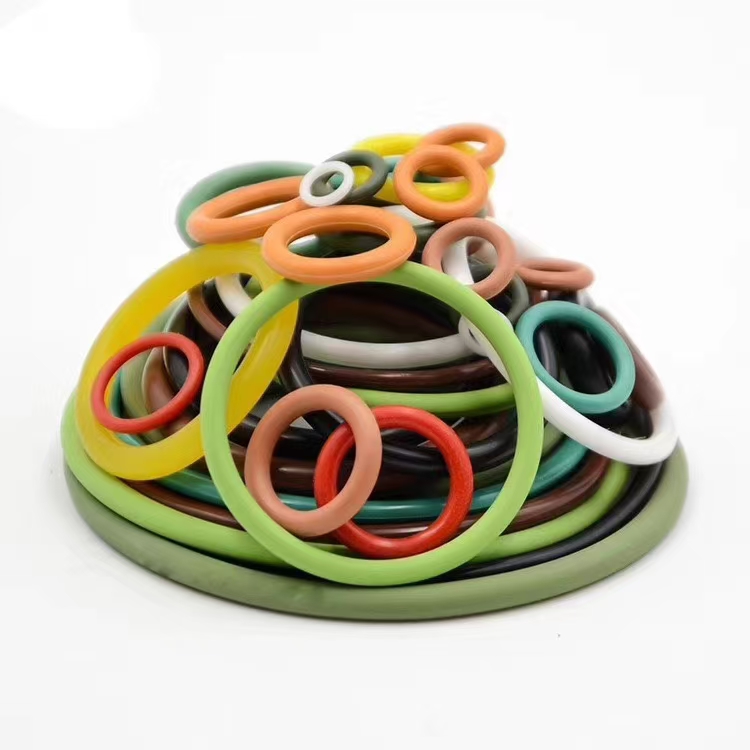
EPDM Rubber O-Ring Seal Factory | Custom Sizes China Manufacturer
-
 View More
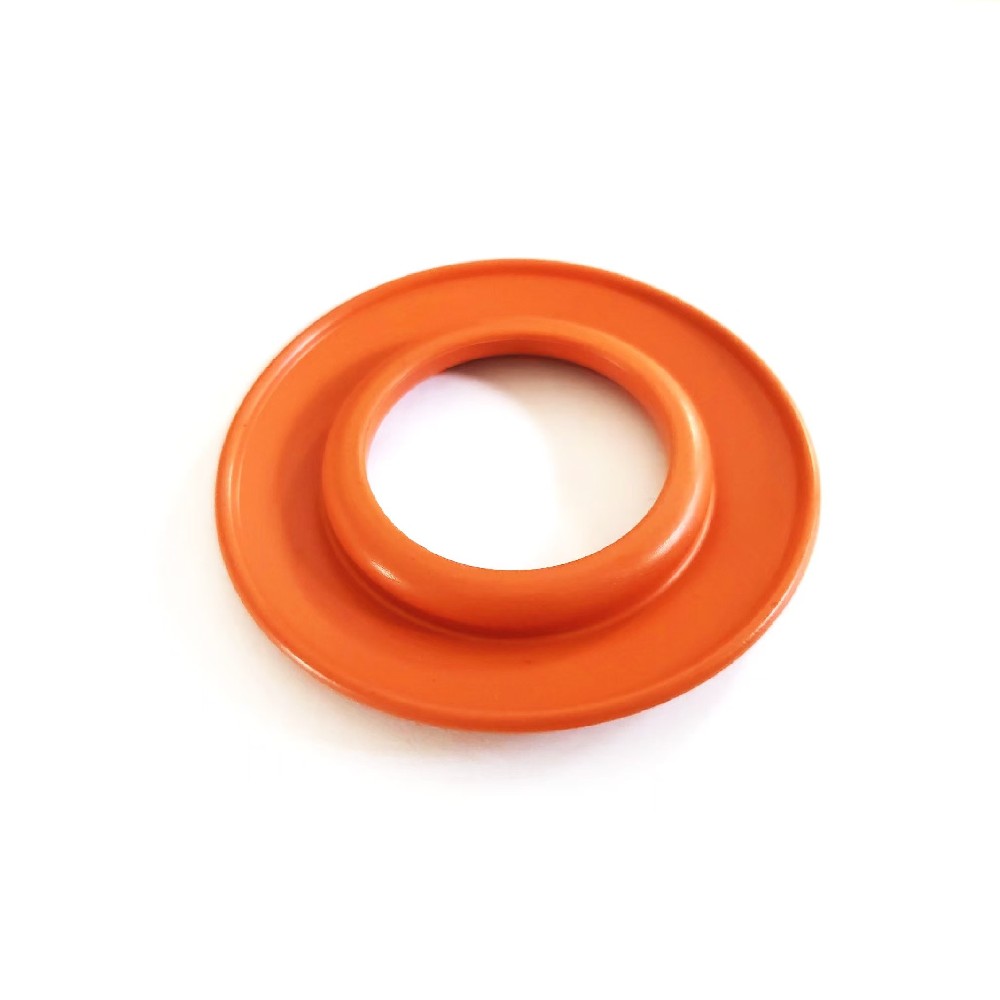
Rubber Check Valve for Automotive Oil Filter - OEM Supplier
-
 View More
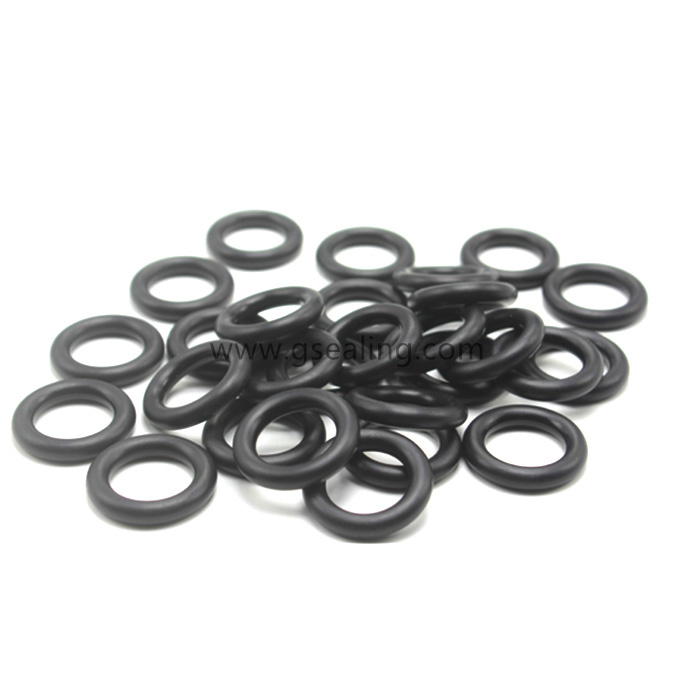
HNBR O-Ring OEM Manufacturer | Hydrogenated Nitrile Seals China
-
 View More
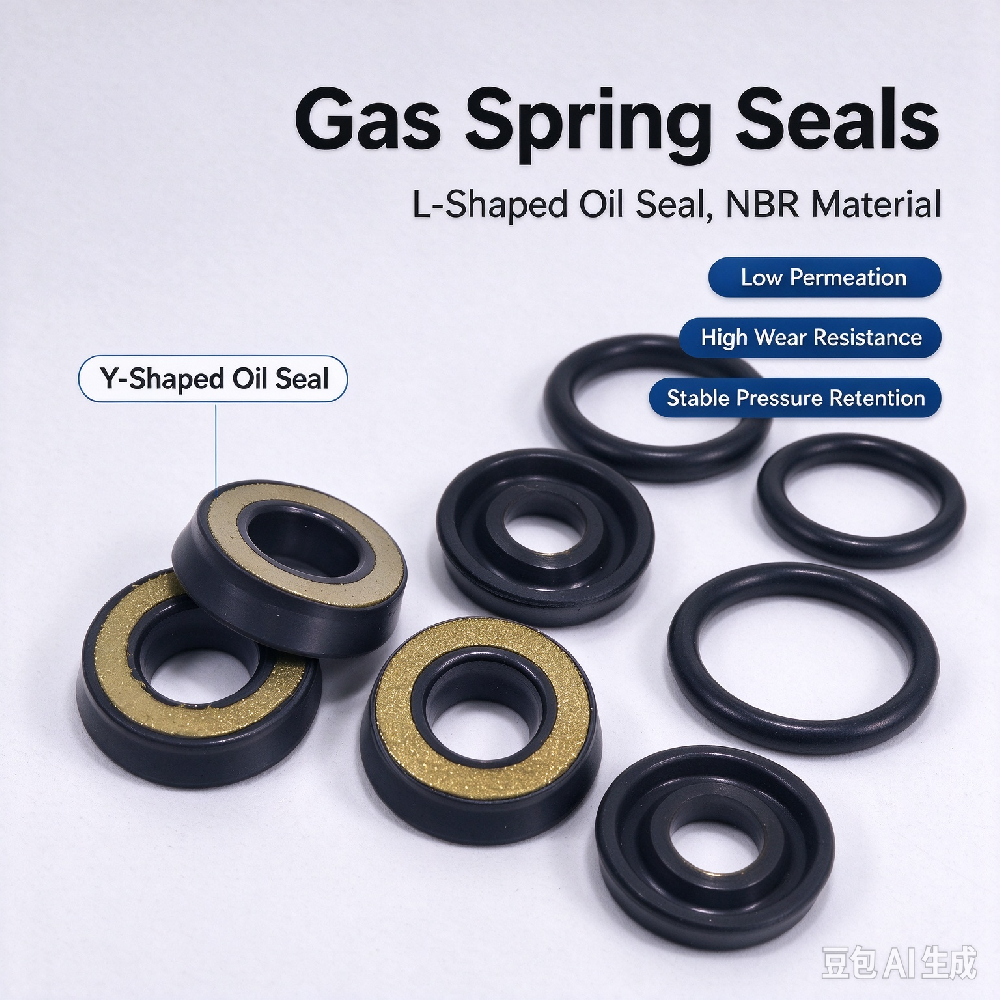
L type Gas Spring Seals /Manufacturer/Factory Supply/OEM high quality
-
 View More
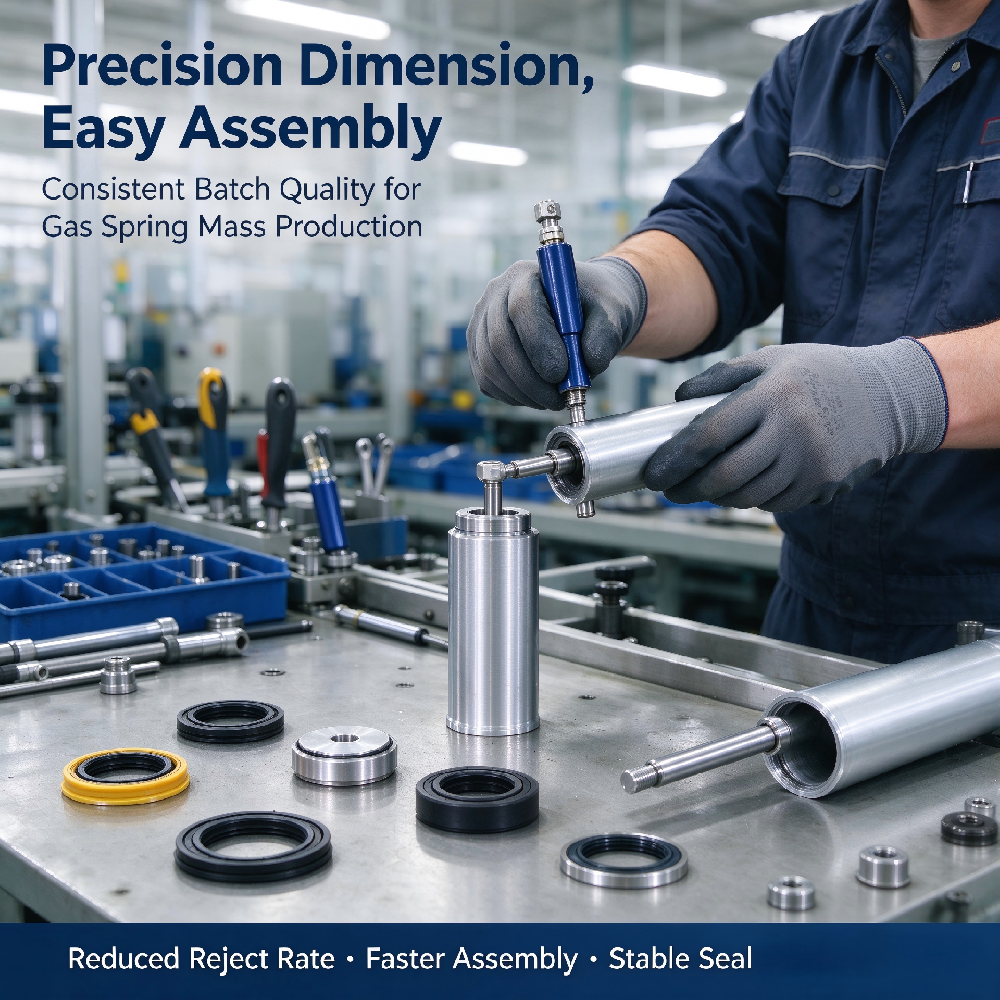
Y-Type High pressure Gas Spring Oil Seal 10×24×3.5mm, OEM Gas Spring Sealing Component for Gas Spring Manufacturers
-
 View More
24898 (SKF CRWA1) Oil Seal|Replacement for SKF Part Number 24898
-
 View More
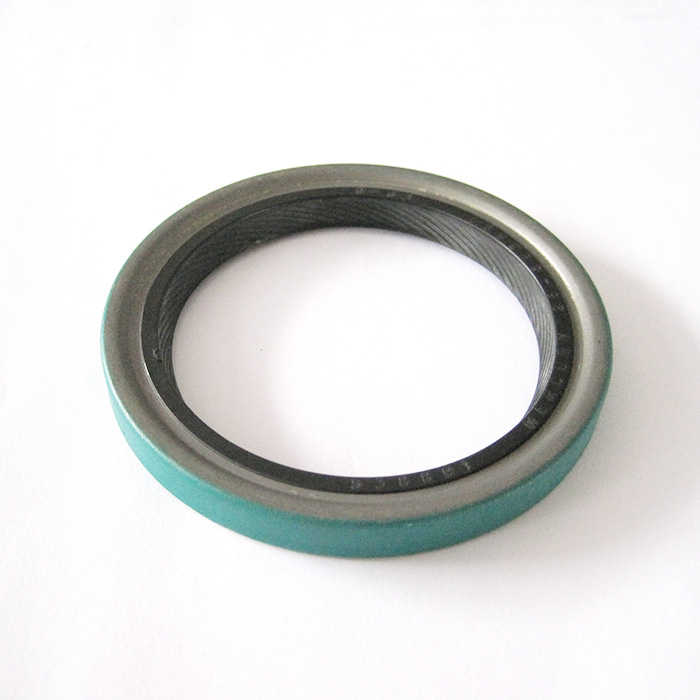
24863 Radial Shaft Oil Seals Single Lip withe metal case
-
 View More
TC Rubber Lip Oil Seal Manufacturer | TC Type Oil Seal Supplier
-
 View More
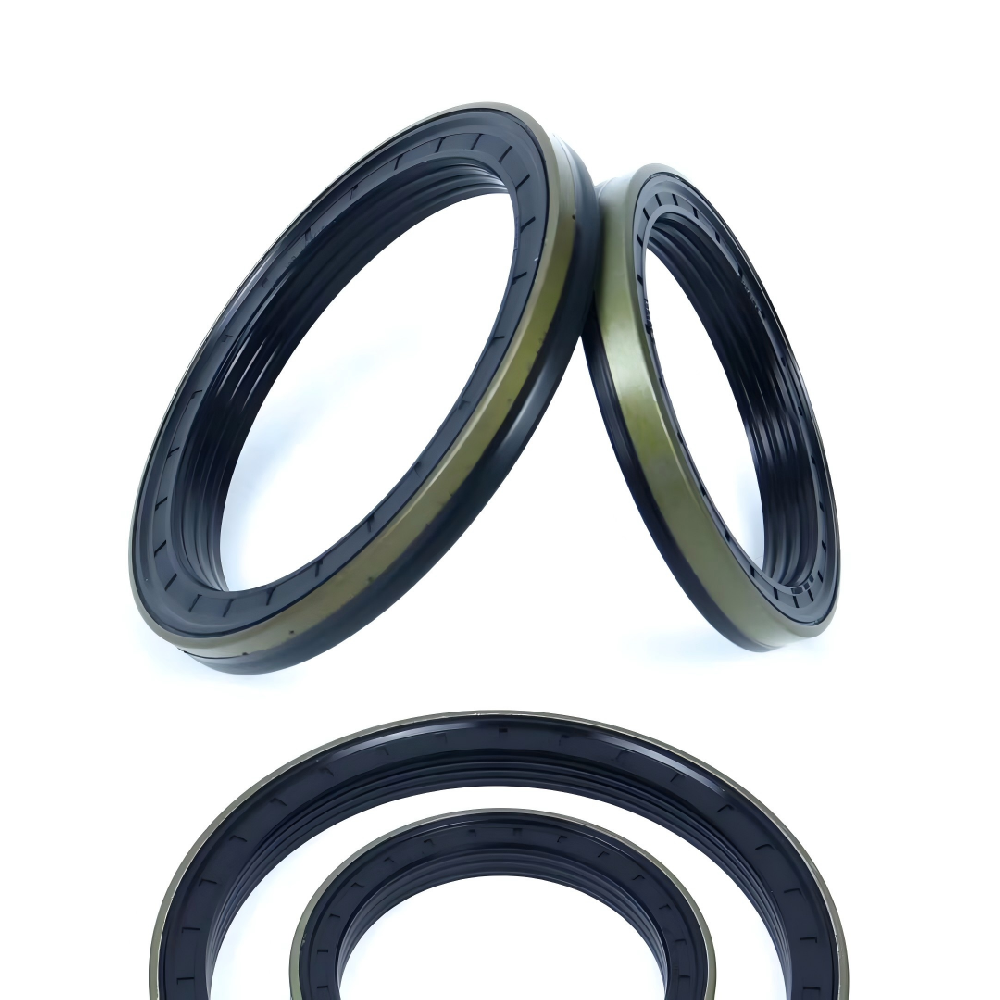
John Deere RWDR Cassette Oil Seal - OEM Manufacturer
-
 View More
Valley Valmont Gearbox Oil Seal - Irrigation OEM Supplier
-
 View More
Custom Shock Absorber Oil Seals | OEM Manufacturer | IATF16949 Damper Seals for OEM Factories

Do you have a question? Feel free to contact!
 Tel:
+8613967511577
Tel:
+8613967511577
 E-mail:
sale@gsealing.com
E-mail:
sale@gsealing.com
 Add:
Cixi,Ningbo ,zhejiang, 312300, China.
Add:
Cixi,Ningbo ,zhejiang, 312300, China. 
Copyright © YIWU GREAT SEAL RUBBER PRODUCTS COMPANY All rights reserved.
OEM Rubber Driving belts Manufacturers
