Washing machine oil seal installation
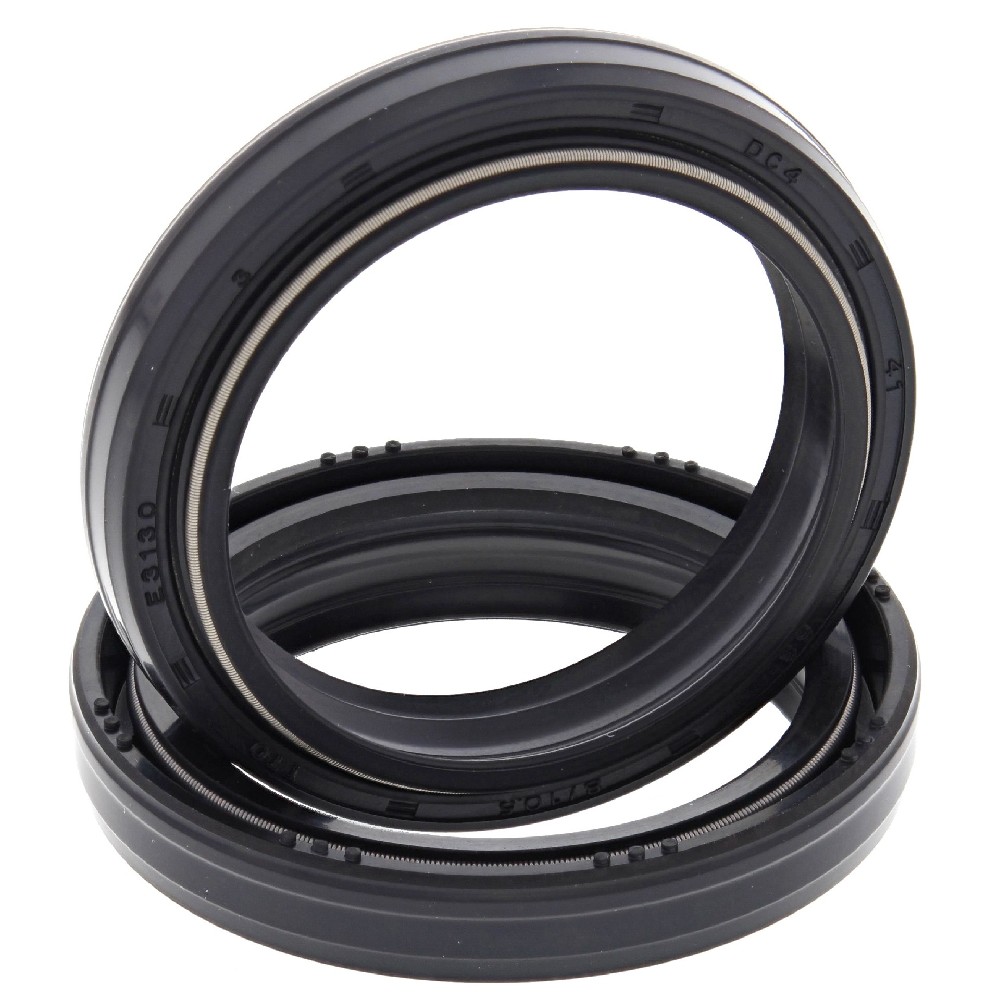
Drum washing machine is one of the household appliances often used in our daily life, its basic structure is composed of shell, motor, drum, controller and other parts. Among them, the drum is the core part of the washing machine, which is responsible for the main work of washing clothes. In the drum washing machine, the oil seal is a very important part, its role is to prevent oil leakage, to maintain the normal operation of the drum. The following is the drum washing machine oil seal installation diagram for your reference.
First, prepare the oil seal to be installed and the corresponding tools, including wrenches, hammers, scrapers, glue, etc. Then, remove the roller and place it on a flat work surface.
Next, scrape the old oil seal off the drum with a scraper, and clean the oil on the drum.
Then, place the new oil seal into the oil seal tank and apply glue to the outside of the oil seal to ensure that it fits tightly onto the drum.
Before the oil seal is installed on the drum, a layer of lubricating oil needs to be applied between the oil seal and the drum so that the oil seal can slide into the inside of the drum more smoothly.
Finally, tap the oil seal with a hammer so that it is fully embedded inside the drum, and use a wrench to attach the oil seal to the drum.
Through the above steps, we can successfully complete the drum washing machine oil seal installation. When using the washing machine, we need to regularly check the status of the oil seal to ensure its normal operation and maintain the good use effect of the washing machine.
Hot Products
-
 View More
-
 View More
Magnetic Abs OEM Bearing Seals China Manufacturer
-
 View More
Automobile Brake Disc Wheel Bearing Seals China Supplier
-
 View More
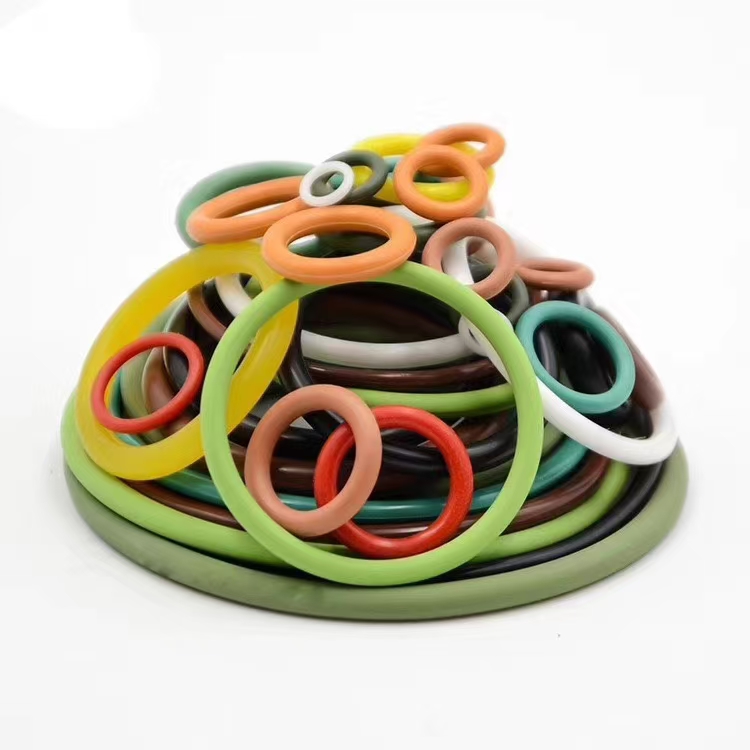
EPDM rubber o-ring seal different size factory China manufacturer
-
 View More
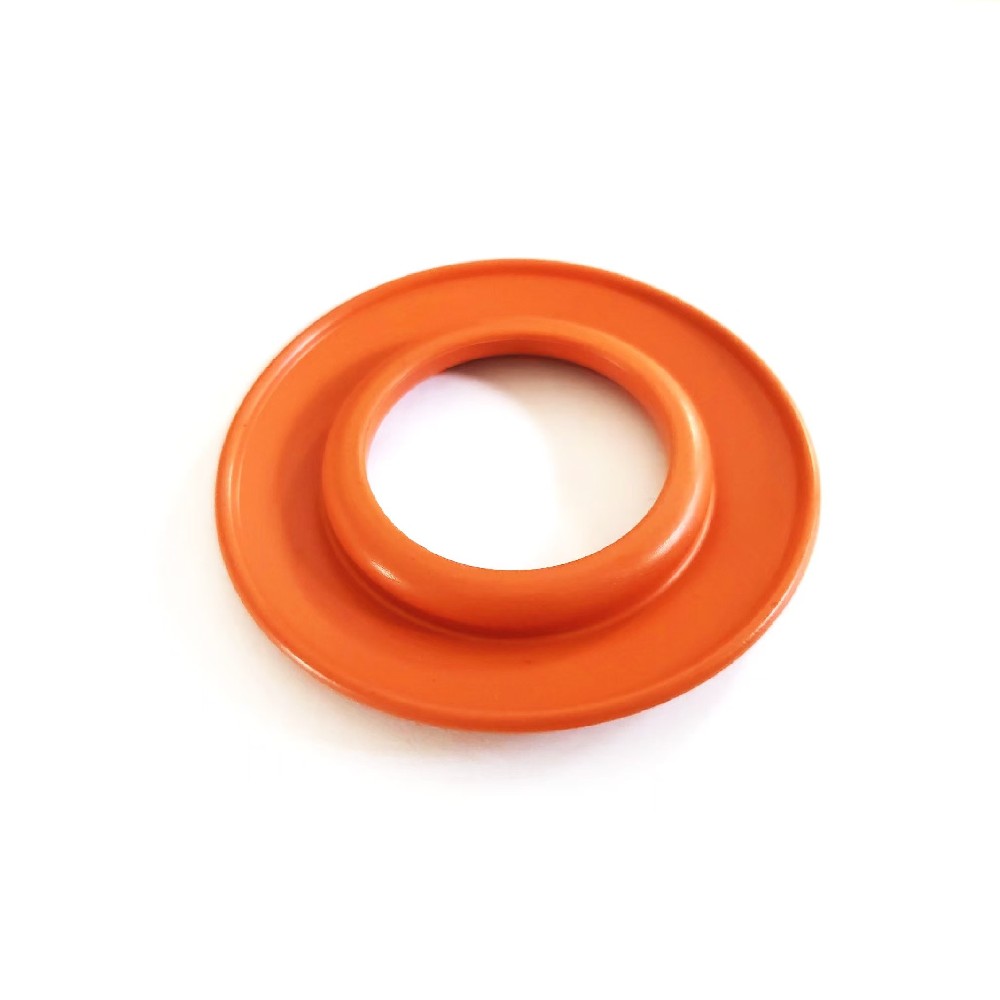
Automotive Oil Filter Rubber Check Valve
-
 View More
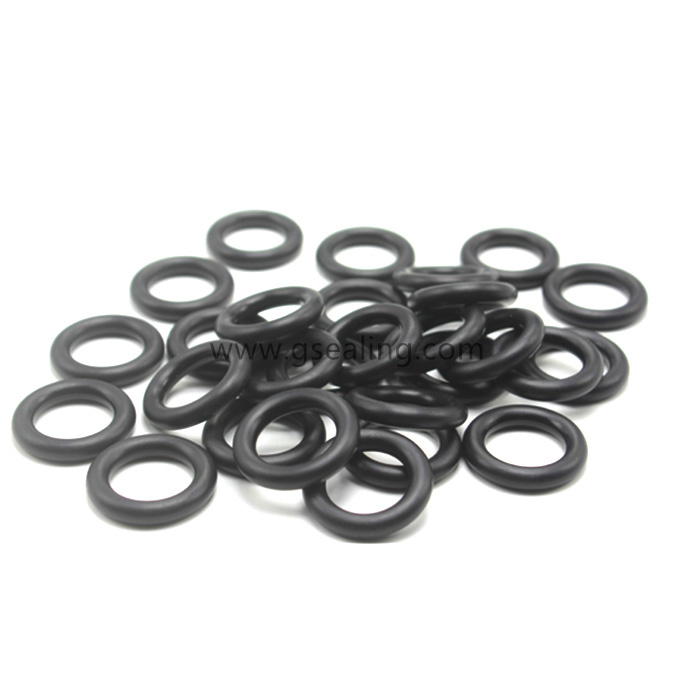
HNBR O Ring Seal OEM Manufacturer China
-
 View More
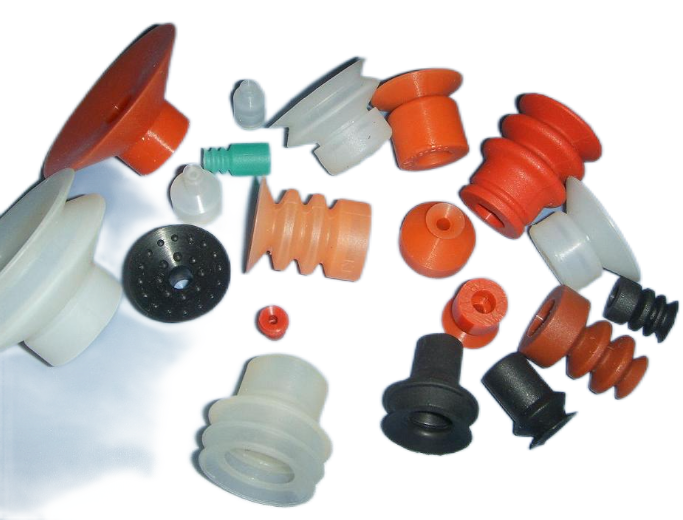
Rubber High Pressure Suction For Electronic Hand OEM China Factory
-
 View More
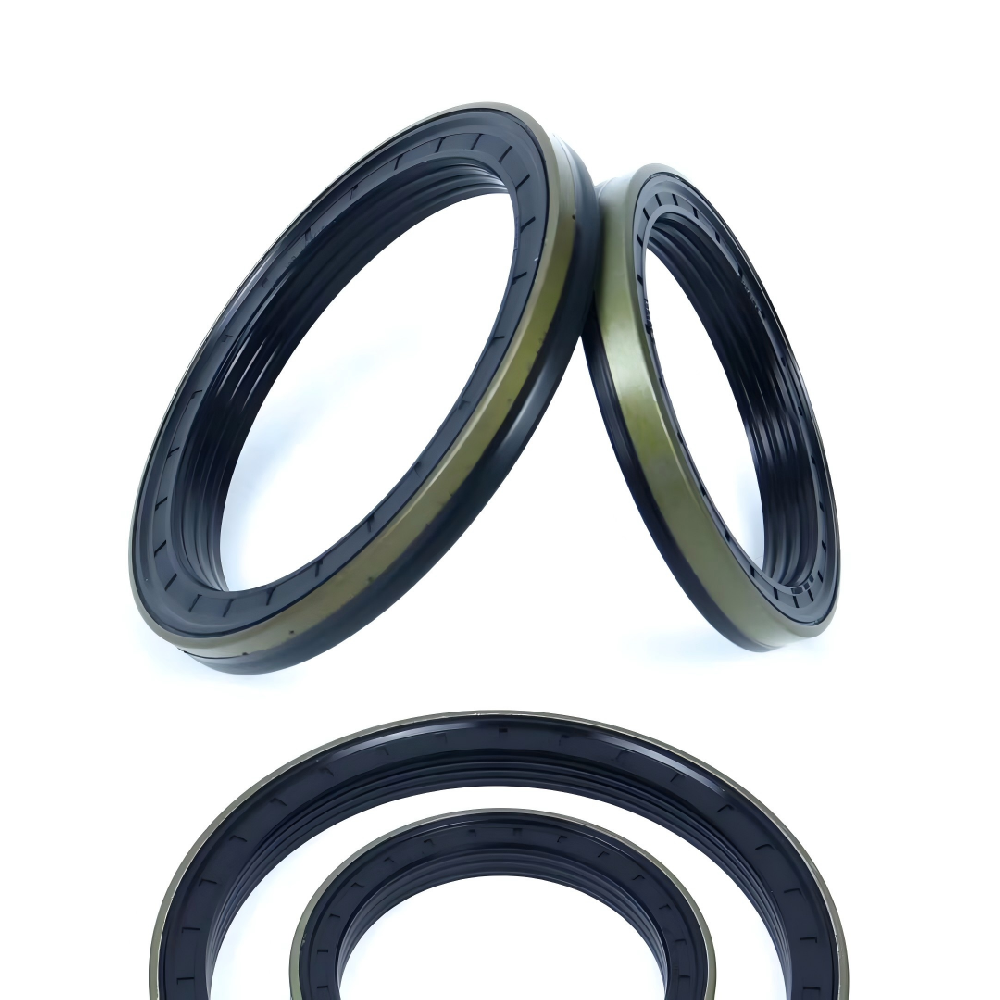
John Deere Tractor Cassette oil seal RWDR Manufacturer
-
 View More
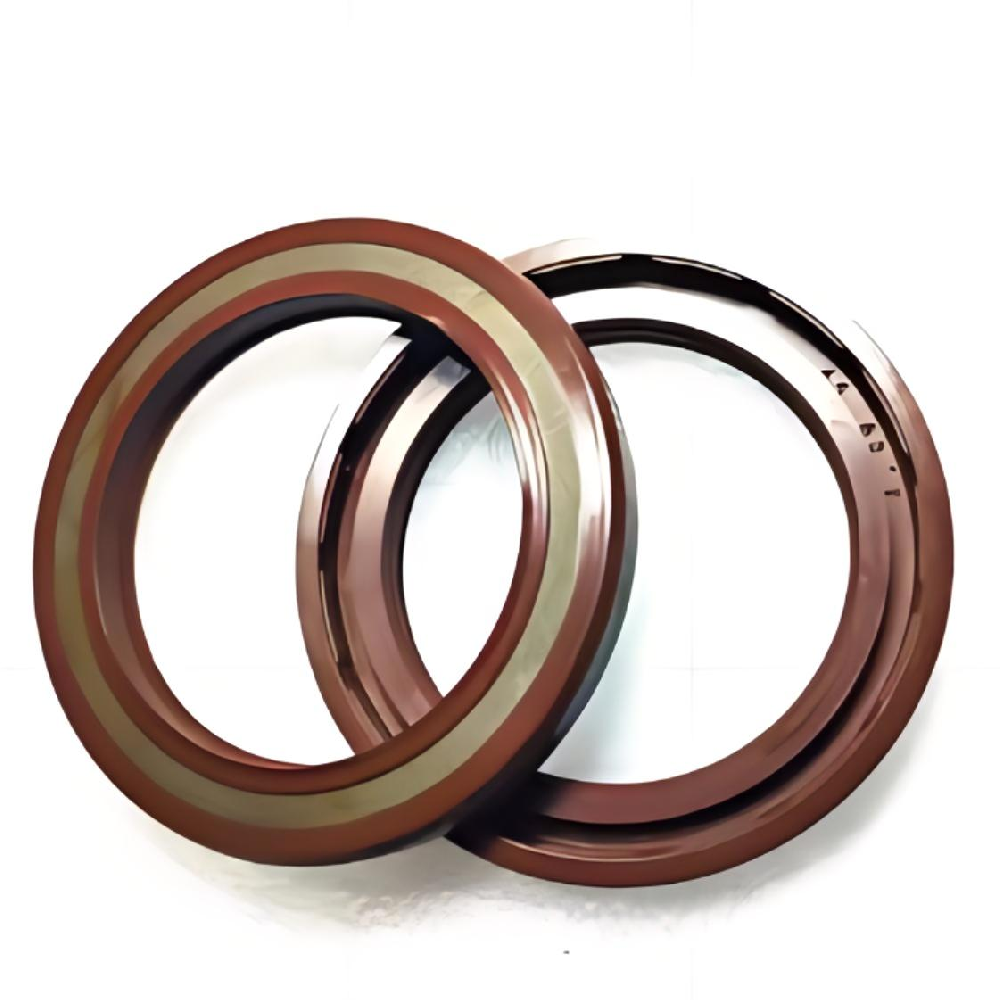
High Pressure TCN Oil Seal for Excavator
-
 View More
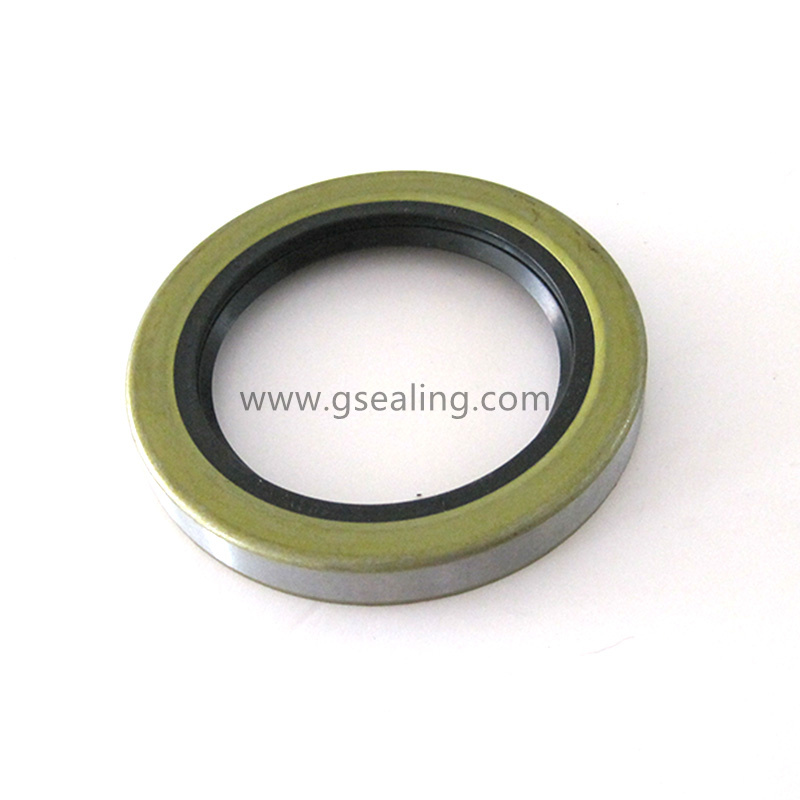
Trailer Grease shaft rubber lip oil seal TB 11174
-
 View More
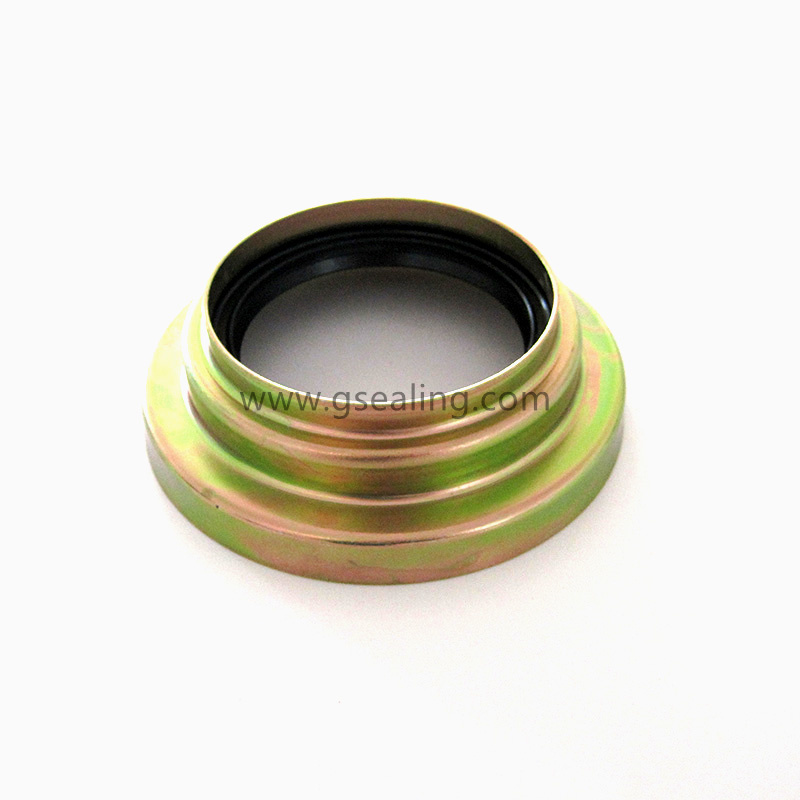
Ford New Holland Tractor Half Shaft Seal Retainer Assembly China Manufacturer
-
 View More
Irrigation Valley Valmont Gearbox Oil Seal China Supplier
-
 View More
High Quality Agriculture Machinery Rotation Oil Seal Kits
-
 View More
John Deer Grease Drive Shaft Oil Seal China Supplier
-
 View More
Tractor shaft combine oil seal


